Building a Blog with Blogdown and GitHub
January 23, 2017
Why Blog?
When I first started learning to code in R, Google was (and still is) my go-to when I had a question. It didn’t take long to realize that this generally brought me to one of two destinations - StackOverflow or [Insert Name]’s blog. So, I created a StackOverflow account and decided to start my own data science blog. However, I didn’t quite know where to start and spent most of 2016 scoping different platforms. While I won’t go into all the details of this process, the cliff notes are as follows:
- Tried Jekyll. The installation and dependencies (e.g. Ruby) were more complicated than I wanted and I was hoping for a more direct integration of R into the workflow
- Created a website with RMarkdown. Getting setup was a breeze but found the blogging capability to be lacking
Enter blogdown, the new brainchild of Yihui Xi. Though still in the early beta stage, blogdown checked all the boxes I was looking for. blogdown is a R package that combines the ease of RMarkdown with the flexibility and customizability of Hugo. Hugo is an open-source static site generator similar to Jekyll, which means it builds your website once rather than each time a user visits it by taking all files within the website’s directory and rendering a complete website.
Creating Your Blog
Once I was up and running, it felt only natural to write my first post about creating a blog with blogdown. Thus, this post is a step-by-step guide to creating a blog with blogdown by explaining how to do the following:
- Setup a GitHub repository for your new site
- Install
blogdownand Hugo - Create a Hugo website in your new repository
- Understand the structure of your new site
- Create new content
- Publish your site online using either GitHub Pages or Netlify
This post assumes you already have R/RStudio installed on your machine, a basic familiarity with the command line, a GitHub account, and an internet connection. Importantly, you do not need to have advanced R or web design skills.
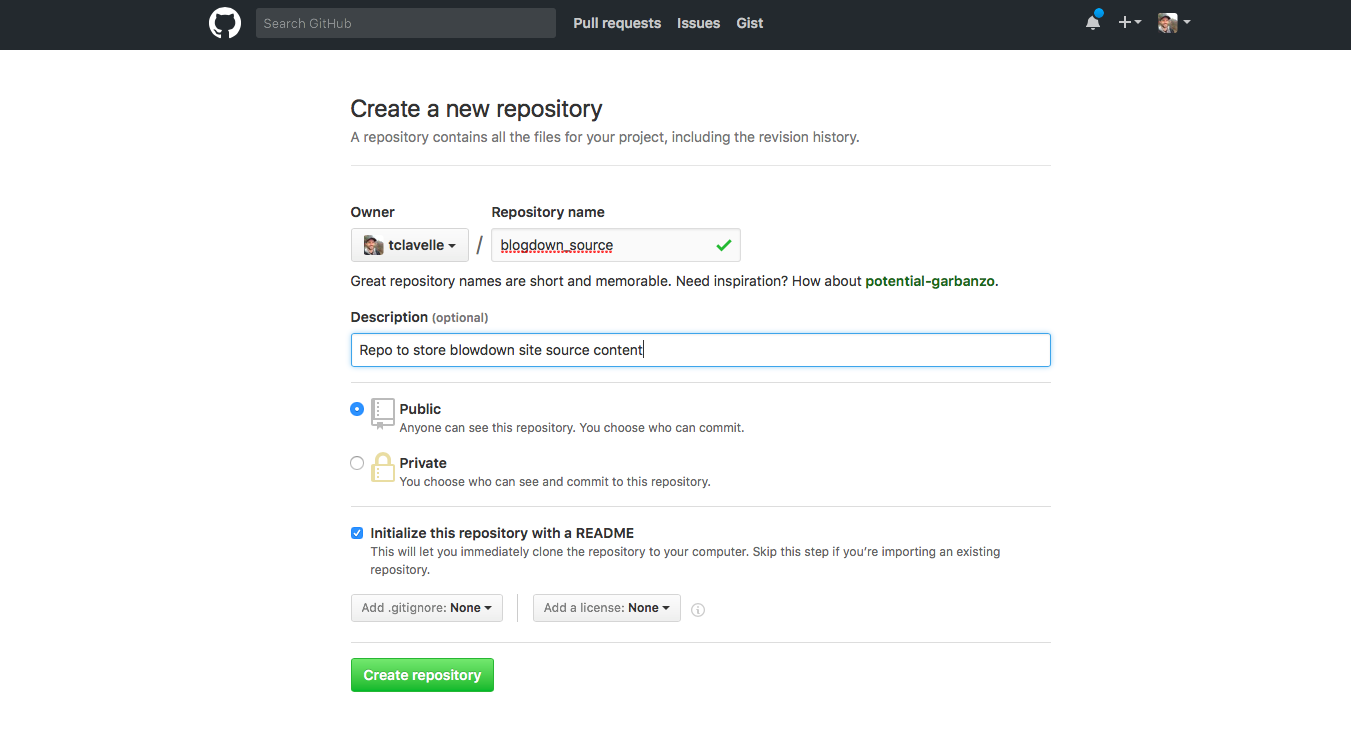
Create a GitHub Repository
The first step towards building your new blog is to create a GitHub repository for your blog (we’ll call it blogdown_source here for reasons explained later). Initialize the repository with a README.md file.
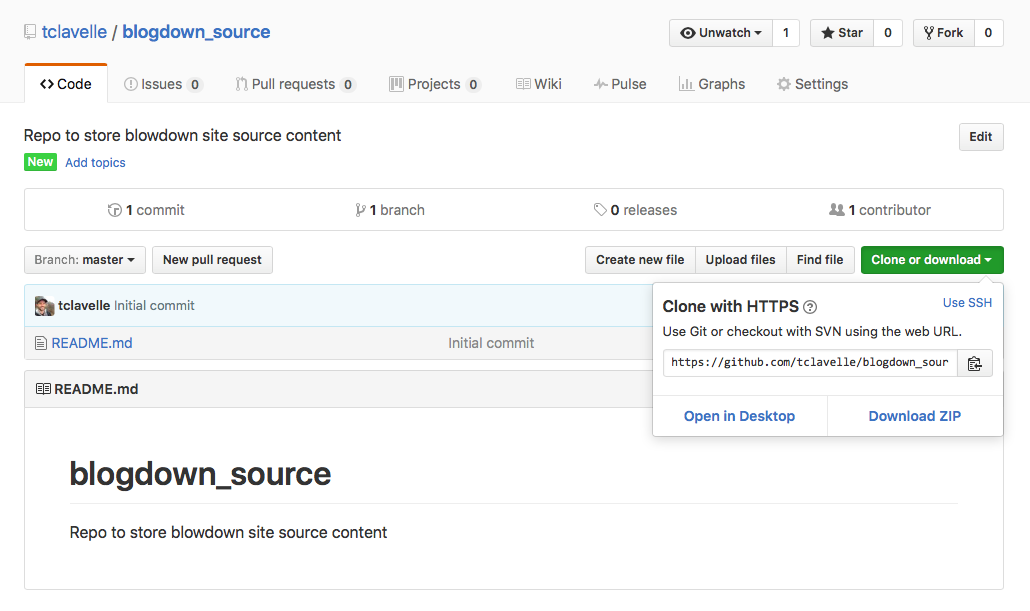
Next, click the green clone or download button on the right side of your new repo’s page and copy the URL.
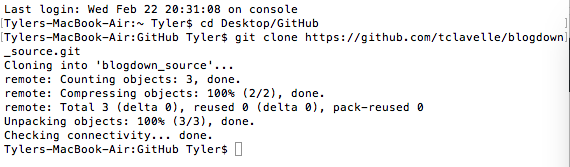
Open up Terminal and use cd <desired directory> to navigate to the directory where you’d like your new repository to live. I keep all my repos in a GitHub/ folder on my desktop, so I’ll put the repository there. After navigating to the desired directory, run git clone <GitHub URL> to clone the new repository.
Open up Finder; you should now see the blogdown_source/ folder containing only the README.md file. Now that you’ve successfully cloned the repo, delete the README.md file. Don’t add anything else to this folder just yet, blogdown requires an empty directory to get started.
Installing Hugo
A great feature of blogdown is that it handles the installation of Hugo for you, which means you don’t need to know much about Hugo to start blogging with blogdown. I found this to be a big advantage over the complicated dependencies and installation process of Jekyll.
Load the blogdown package and run the install_hugo() command. This can just be done in the console.
# Load blogdown package and install Hugo
library(blogdown)
install_hugo()
Doesn’t get much more straight forward than that.
Build Your Site with Blogdown
Like install_hugo(), blogdown provides the handy new_site() function to automatically create the required Hugo structure for your website in the (empty) directory you specify.
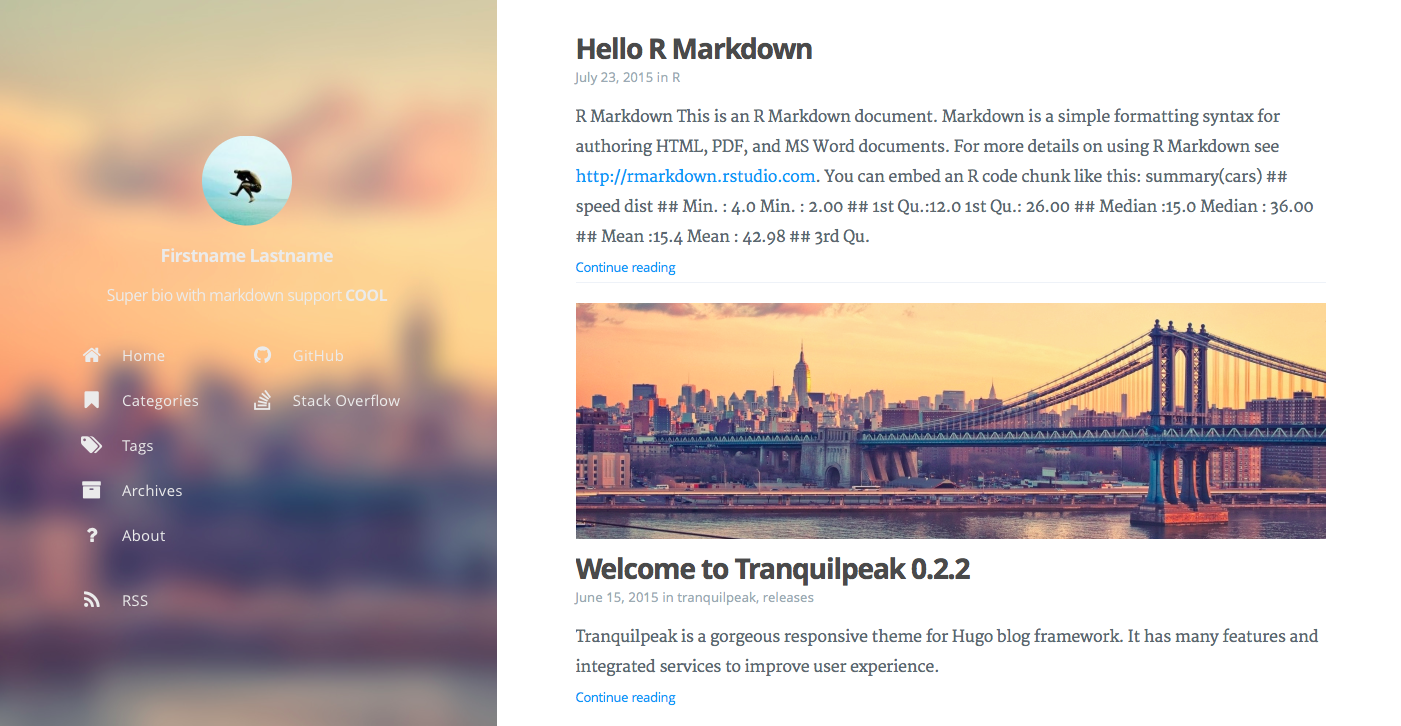
Another great feature of this function is that you can use the theme argument to specify the theme you want for your website and blogdown will download all necessary files into the new site directory it creates. Check out Hugo’s theme gallery for a ton of options. Let’s try the Tranquilpeak theme theme, which we specify with theme = 'kakawait/hugo-tranquilpeak-theme', which is just the GitHub user and repo name for the theme. We’ll also set the format argument to format = 'toml' to tell blogdown that we want to use toml for our site’s config file. Using toml is actually the default setting but I wanted to point it out because the config.toml is important for customizing your website. Once you select a theme for your site, checkout the GitHub repo for the theme and determine whether the theme file is a .toml or .yaml file and set the format argument accordingly.
# Create new site in our recently cloned blogdown repository
new_site(dir = 'blogdown_source',
         theme = 'kakawait/hugo-tranquilpeak-theme',
         format = 'toml')
A few things happen upon running the above code:
blogdownwill add all the required Hugo components to the previously empty directory, displaying the progress in your R consoleAn example RMarkdown
postwill be created and opened automaticallyRStudio will start serving your site in the RStudio viewer, which you can open in your web browser by clicking on the arrow button next to the broom
Congratulations! You now have a functioning website created with blogdown! However, before you’re ready to publish your site and start and writing blog posts, let’s first understand a bit more about how Hugo and blogdown work together to organize and build your site.
Site Structure
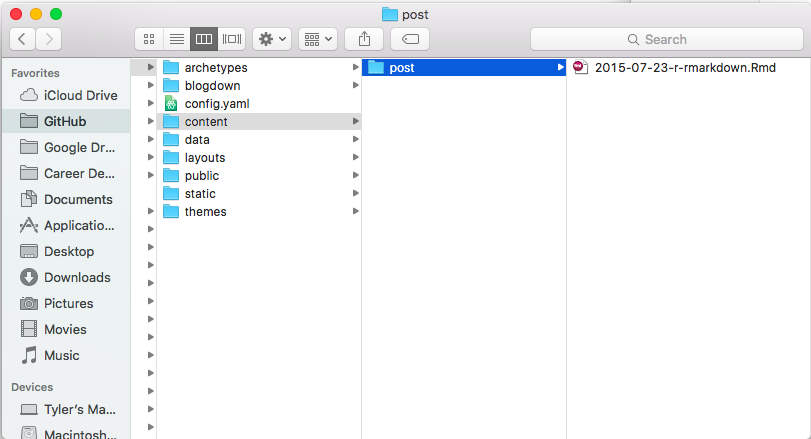
Open up your repository folder. You should see a bunch of new folders and files, including for the theme you told blogdown to use for your website and the demo RMarkdown post in the blogdown/post/ directory.
While you should definitely see Hugo’s documentation for details on the purpose of these directories, I’ll explain the key elements you need to understand to get started with blogdown.
- config.toml - The configuration file for your website. This file tells Hugo how it should render your site, as well as define its menus, and set various other site-wide parameters. This file will look different for every theme, but they will all contain some basic components.
baseurlset this to the desired URL for your site, in this casebaseurl = "https://<usernamr>.github.io/"titleset the title for your new site. Some completely random and objective examples include “Real Leaks, Fake News”, “Gravy Fries and Putin”, and “Kellyanne’s Alternative Factory”descriptiona brief description or mission of your new site, something like “Democracy Described in Data” or “Hair and Imbalanced”themethis should list the theme you specified when creating the site
public/- The directory where Hugo will place your rendered website content
- themes/ - User generated themes powered by the Go template library. You should see a folder with the name of the theme you chose previously
- themes/layout/ - HTML templates that the Hugo theme uses to structure the layout of each page on your website. There are three primary layout types - single (for single-content pages), list (for pages with multiple pieces of content), and baseof (for the home page). Checkout this Hugo documentation for an intro to using and creating these layout templates
- themes/layout/ - HTML templates that the Hugo theme uses to structure the layout of each page on your website. There are three primary layout types - single (for single-content pages), list (for pages with multiple pieces of content), and baseof (for the home page). Checkout this Hugo documentation for an intro to using and creating these layout templates
- content/ - The main directory where your blog’s content will live. Each page of your site should exist as a sub directory of
content/. Each sub directory will consist of either a singleindex.md(orindex.html) file, or a series of files representing multiple posts of the same content type
Creating New Content
Ok, at this point we have a functioning Hugo website with a cool theme. We’ve set the baseurl and given our site a title and description. Now it’s time to start creating content.
blogdown lets you easily create new content with the aptly named new_post() and new_content() functions. These functions will both create a new RMarkdown or markdown file in a sub directory of content/ that you specify. new_post() is essentially just a shortcut for new_content(path = 'post/').
Let’s create a new post, being sure not to include spaces or other special characters in out title.
# Create a new post
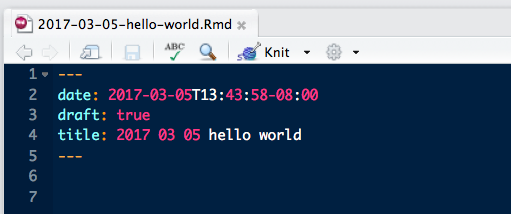
new_post(title = 'hello-world.Rmd')Again, blogdown helps us out by creating and opening the .Rmd file for our new post, which it placed in the content/post/ directory. We could’ve specified .md as the file type if we wanted to use plain markdown. The newly created file has .yaml front matter, which includes the date:, draft:, and title: fields. Another thing blogdown does is to prepend the date to the file name and title. This is done to assist with ordering content, but we can remove the date from the title: field as long as we keep the date in the file name and date: field.
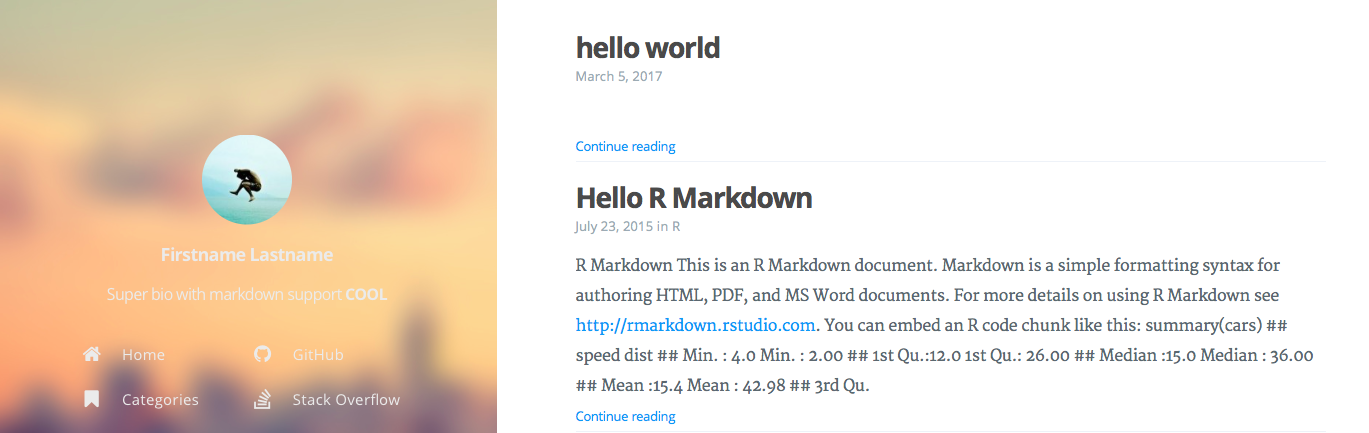
We can now type away like any other RMarkdown document! When the site is rendered locally with serve_site(), the new hello-world post will be the top entry.
Note: If you set
draft = TRUEin your blog post’s.yamlheader,blogdownwill display this post when previewing your site locally withserve_site()but the post will not be included in the final rendered version of your site that gets created withbuild_site().
Hosting Your Blog
Unless you’re creating this website for your eyes only, you still need to publish it before the rest of the world can read your ramblings. Fortunately, there are numerous options for deploying your new site and the blogdown documentation has a whole chapter dedicated to deployment. In this post, however, I’m just going to talk about the two approaches I’ve tried and thus have personal experience with - GitHub Pages and Netlify.
GitHub Pages
GitHub Pages are static websites hosted directly from a GitHub repository. Every GitHub user account and organization gets one user page (username.github.io or organization.github.io) and unlimited project sites (websites for individual repositories). GitHub user pages require all site content (and only site content) to be on the master branch. This is problematic for blogdown sites because when Hugo builds your website it places the site content in a new folder called public/. Thus, your blog’s source and site content will be on the master branch and GitHub will be unable to render your site. So far I’ve seen two options for getting around this issue:
Two branches (and a subbranch) - Remove all source content from the
masterbranch and place it in a new branch, using asubbranchto mirror thepublic/folder on the new branch to themasterbranch. While this method allows you to store all your content in the same repo, it’s rather confusing to set up if you’re not a GitHub ninja. If you decide to go the two-branch route, see this great post by Amber Thomas (which was my primary resource) and this post by Jente Hidskes.Two repositories - Create two GitHub repositories - one to store your source content (such as
blogdown_source) and one to host the rendered website (this repo must be named<username>.github.io). More info about the technical requirements of different GitHub Pages sites can be found here. Though this approach is less streamlined than the two-branch method, the only real added hassle is remembering to push an additional repository to GitHub.
After initial partly-successful attempts to use the two-branch method, I decided to keep it simple and use the two repository method when I first published my blog in early 2017. If you choose to use this method, there are a few additional steps you need to take. First, if you don’t already have a repository setup for your publishDir option to your site’s config.toml. This option tells blogdown which directory it should place the rendered site in and will include a copy of everything that gets generated in the public/ directory of your site’s source repository. Set this option to publishDir = "../<username>.github.io" (adjust this path as needed to point to your <username>.github.io repository relative to the location of the blogdown_source repository). Tell blogdown to build your site with build_site() (no arguments required). Once your site finishes rendering, take a look at your <username>.gihub.io directory, it should now contain the same files as the public/ directory of your source content repository. Lastly, open up Terminal, navigate to your <username>.gihub.io directory using cd <path to username.github.io repo>. Stage all changed files, commit your changes, and push your new site to GitHub.
Netlify
GitHub Pages is a great option that allows you to keep your entire website workflow within GitHub. However, after using this method for a year, I decided to migrate my blog to Netlify Netlify - an automated static site generator that will automatically generate your blogdown site each time you update the GitHub repository containing your site’s code.
Getting setup with Netlify is easy, just go to the Netlify sign up page and sign up using your GitHub (or other cloud git client) account.

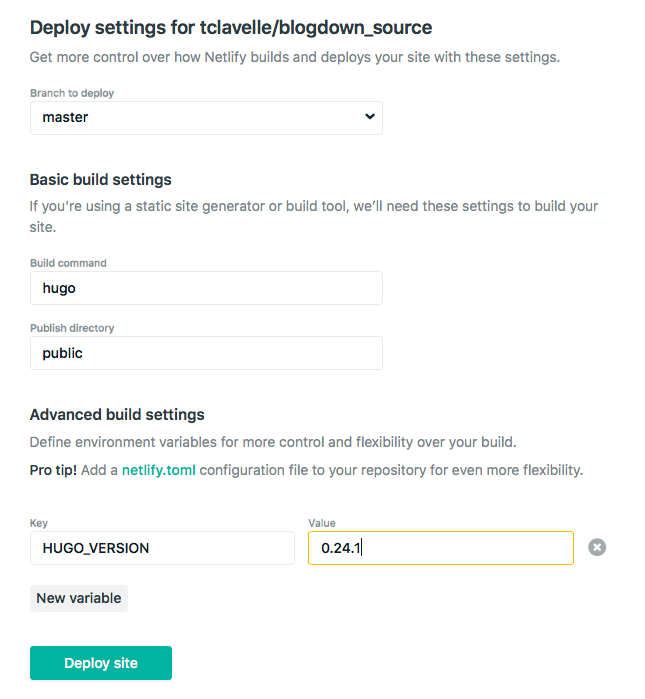
Once you’ve created a Netlify account, click the green(ish) “New site from Git” button in the upper right corner. Next, select GitHub as your Git provider and choose your newly created blogdown repository as the repository you want to link to Netlify. Tell Netlify to use public as the publish directory and to build the site using Hugo via the build command “hugo”. You also need to specify a newer version of Hugo to use for building your site under “Advanced build settings”. The blogdown documentation recommends using at least version 0.20.
That’s it! Click “Deploy site” and then navigate to your new website at the url Netlify gives you to check out your hard work!
Concluding Thoughts
For me, blogging with blogdown has been a rewarding way to build an online presence as well as a way to motivate myself to continually learn new programming skills and explore interesting content. If you’re like me and you really value the great resources being shared by programmers/data scientists everyday on blogs, I encourage you to create your own and join this amazing community!
Lastly, if you found this post useful or have any lingering questions/suggestions, please leave a comment and let me know!